HubSpot Integration
Integrating HubSpot with Purlem makes it super easy to create personalized URLs for all of your contacts. In the steps below, we'll create a website in HubSpot and add Purlem's integration code. That'll give us the ability to add and access contacts that'll each have their own personalized URL. Since HubSpot websites and landing pages work in a lot of the same ways you can follow the steps below to integrate a HubSpot landing page as well.
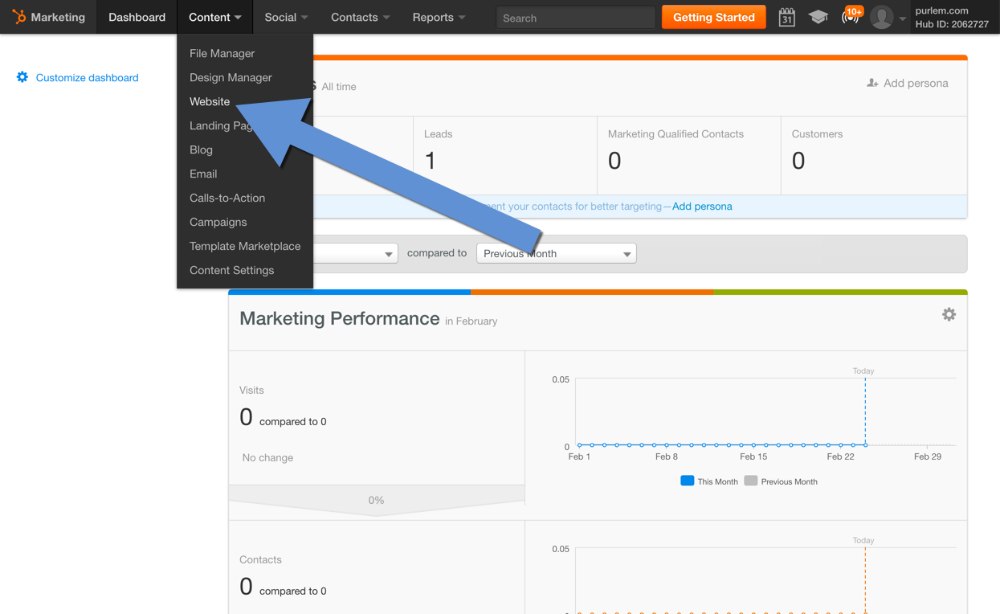
1. Create a web page
From the dashboard, expand the Content dropdown then select either Website or Landing Page.
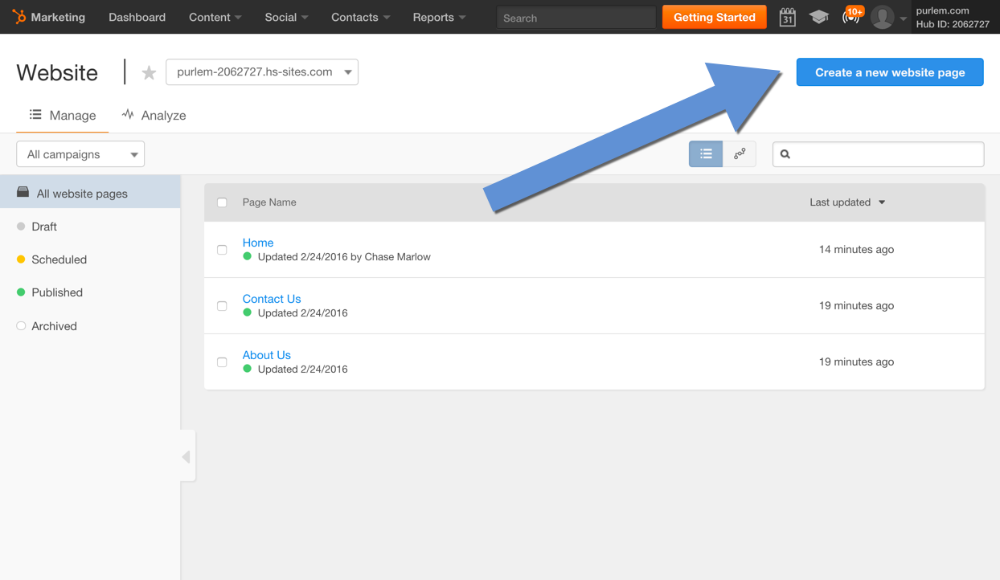
 Click the Create a new website page or Create a new landing page button (depending on which you decided to create).
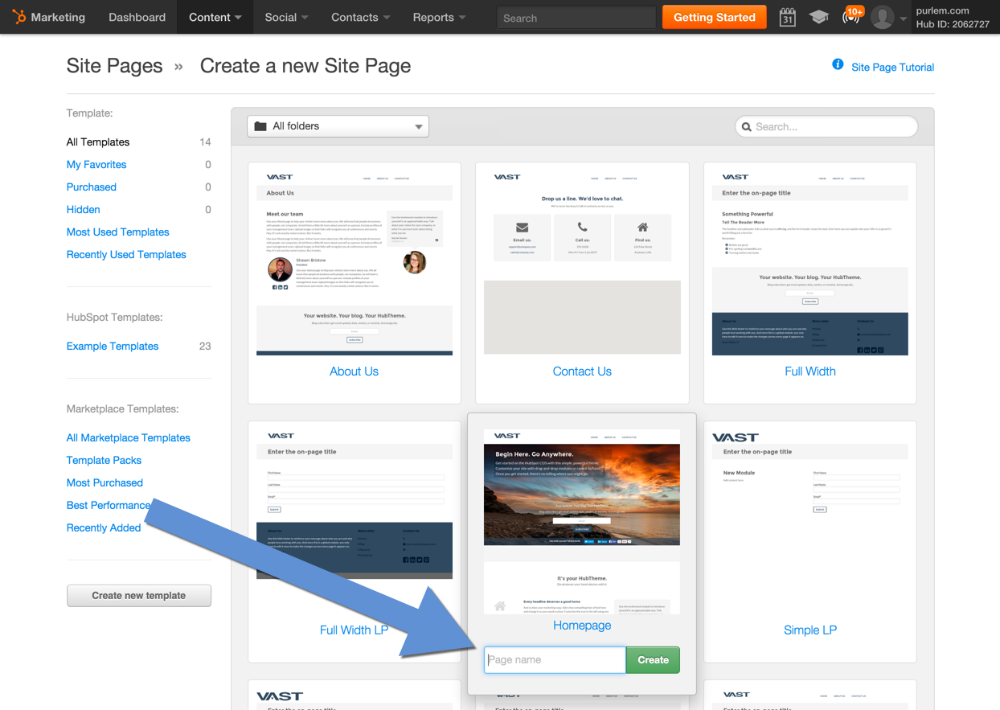
Choose a template, add a page name, and click
Create.
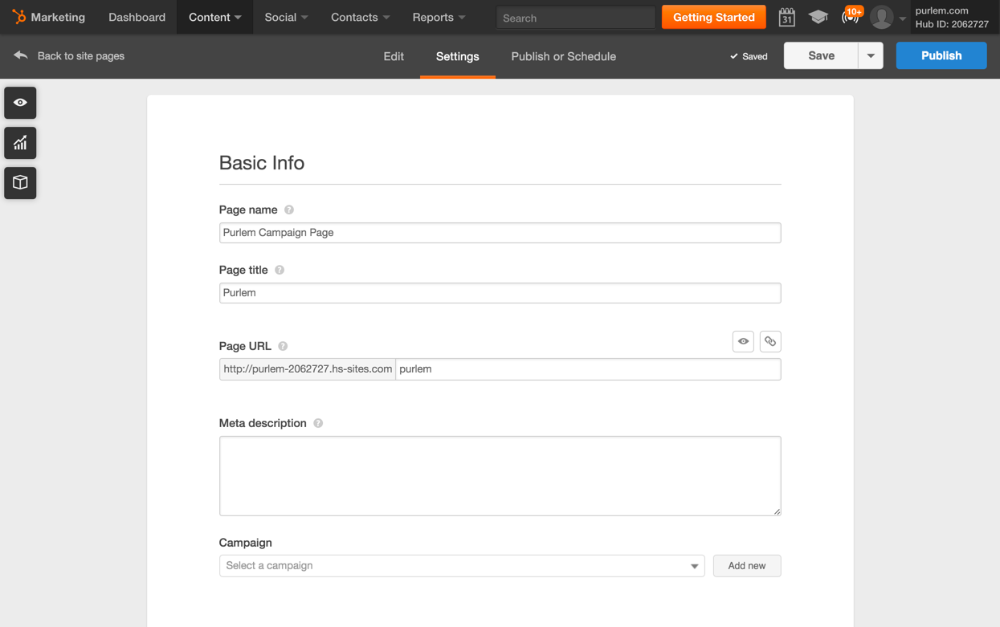
2. Copy the HubSpot URL
Click
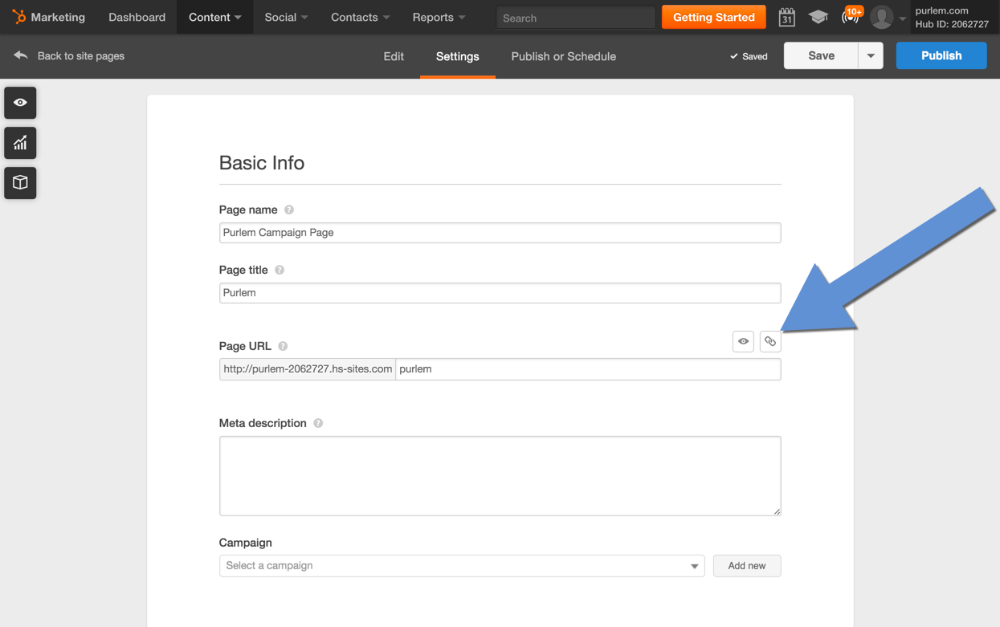
Settings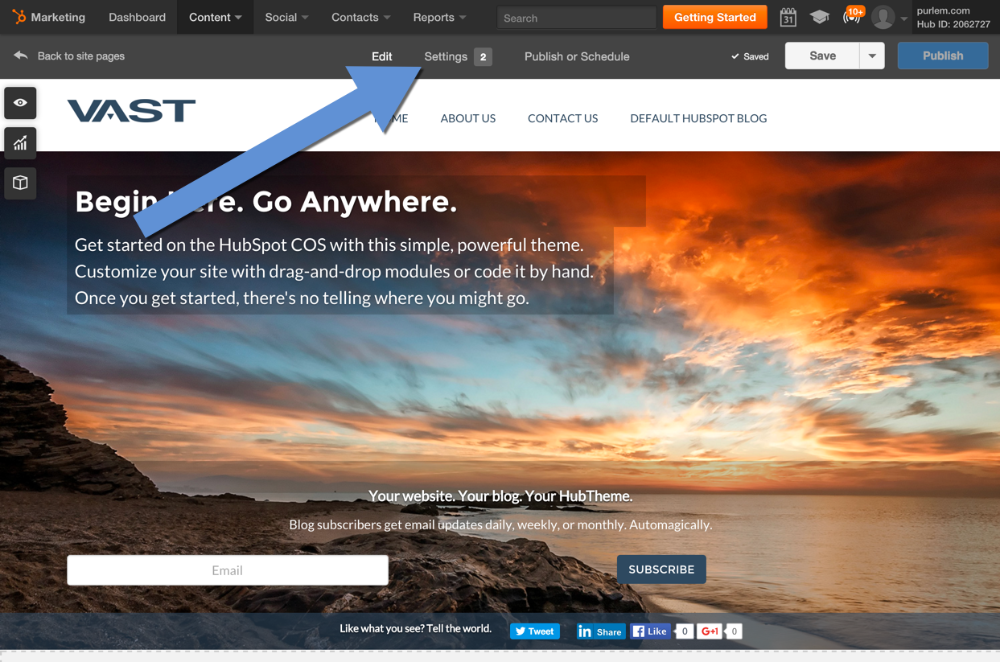
For the next step, copy your published page's URL by clicking the link icon below. Keep this page open as we'll need to add code from Purlem here in the next step.
3. Create a Purlem campaign
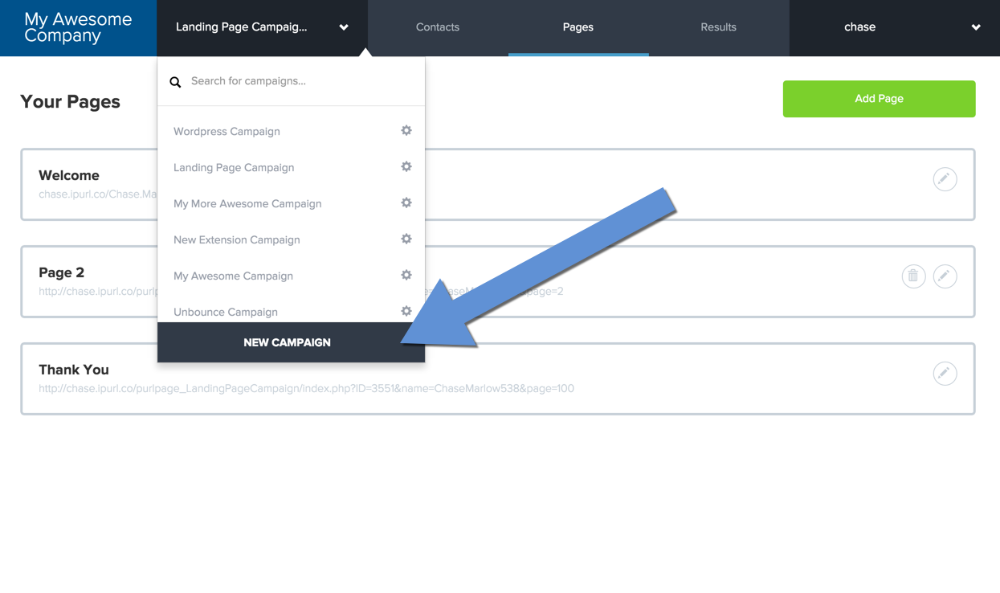
Switch to Purlem and create a new campaign for your HubSpot integration. Use the campaign dropdown menu and select New Campaign.
Click the Existing Page tab.
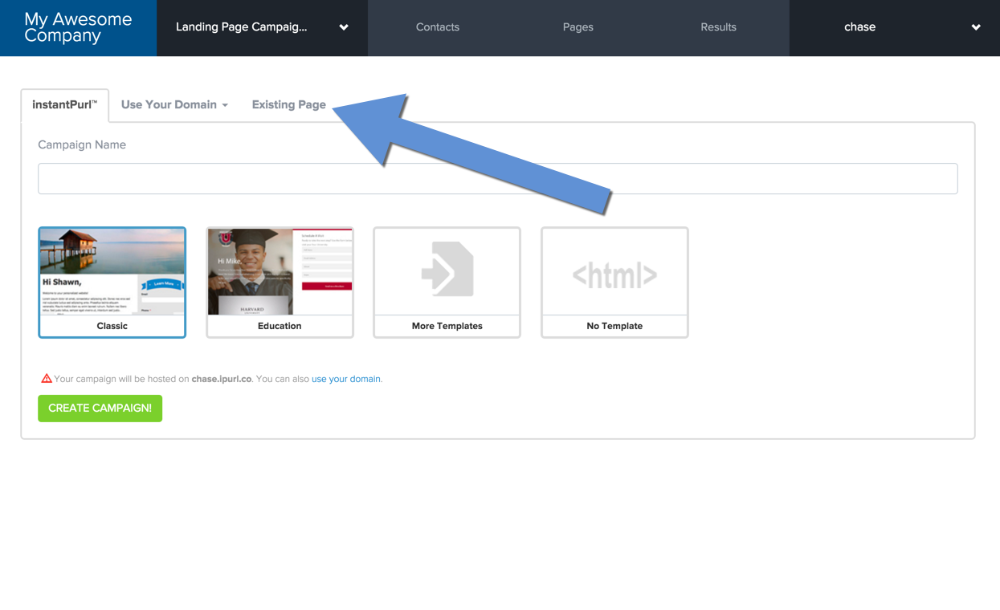
You'll need to paste the Site URL that you copied from HubSpot in the previous step and make sure the Other button is selected. Feel free to use any Campaign Name you'd like.

4. Install your Purlem integration code
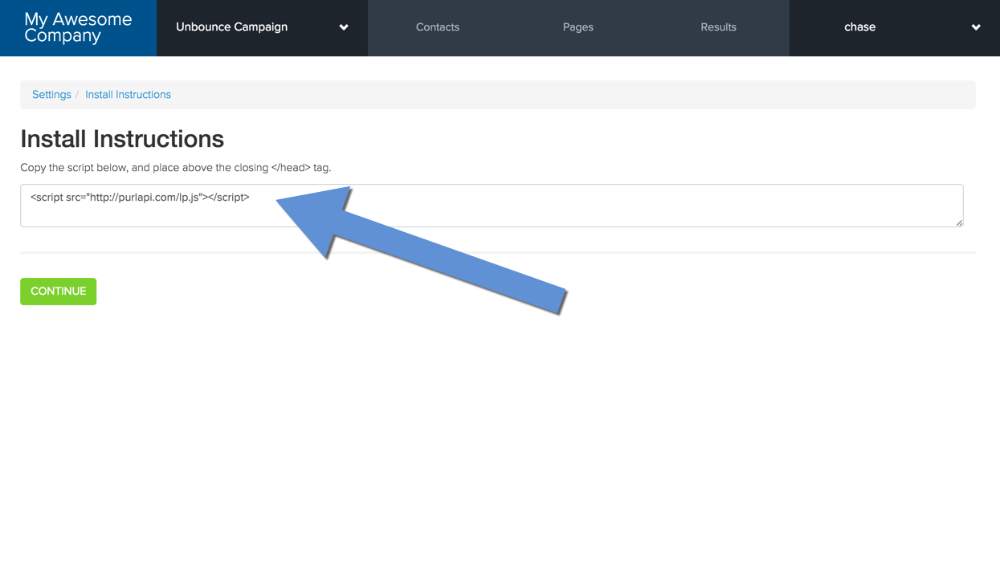
As soon as your Purlem campaign is created, you'll be greeted with an Install Instructions page. Copy the code below (which is included in Purlem's Install Instructions) so you can paste it into the Footer HTML of your HubSpot site.
<script src="http://purlapi.com/lp.js"></script>
Next, you'll need to switch back to HubSpot and scroll down to the Advanced Options section of the Settings tab and select Edit Footer HTML.
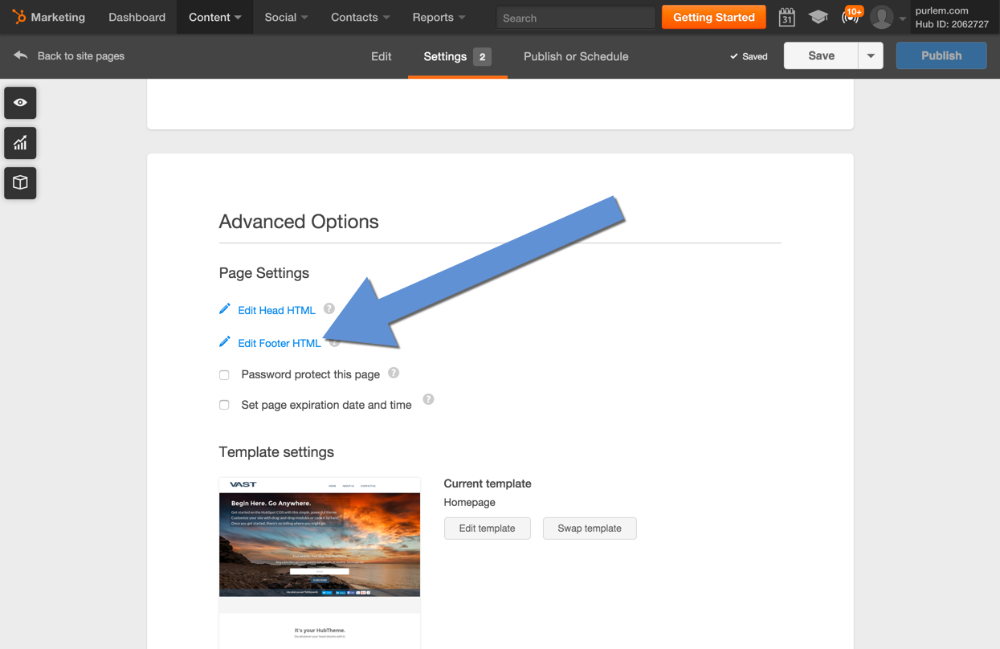
Paste the Purlem code here.
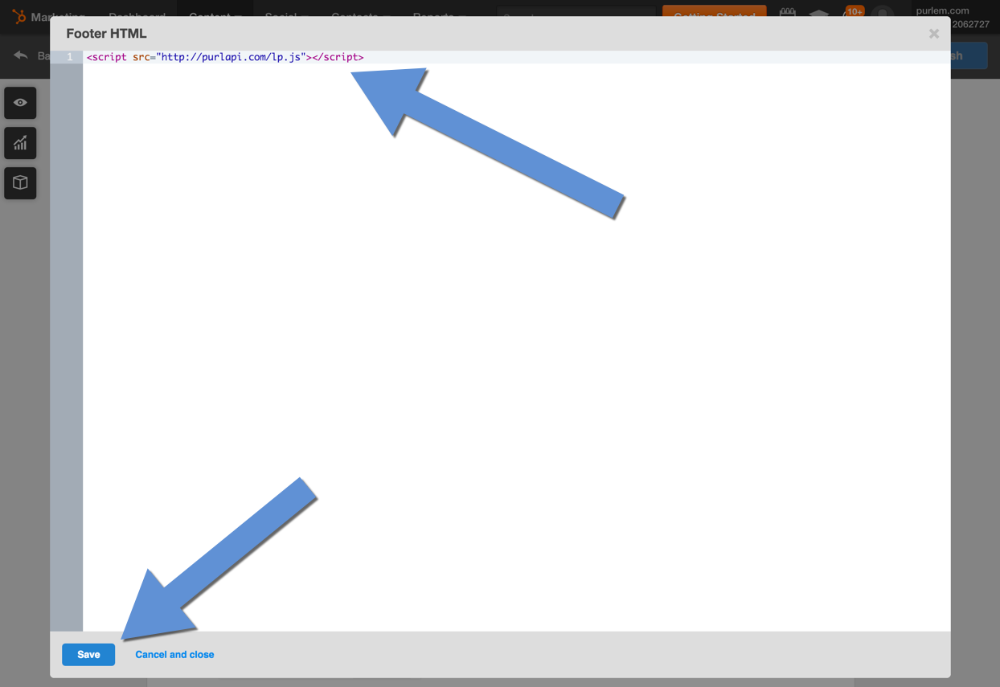
Save your changes and as long as you have a page title and url added to the Basic Info section you'll be able to Save and Publish your page whenever you'd like.
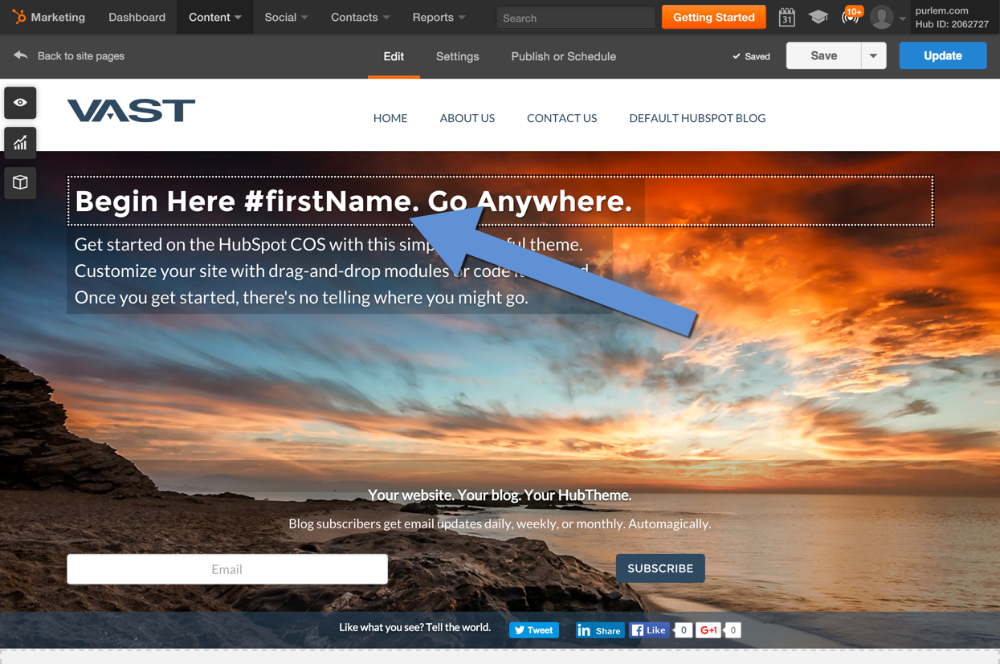
5. Add variable content
To take advantage of some of Purlem's capabilities lets edit our website's header. Select the
Edit tab.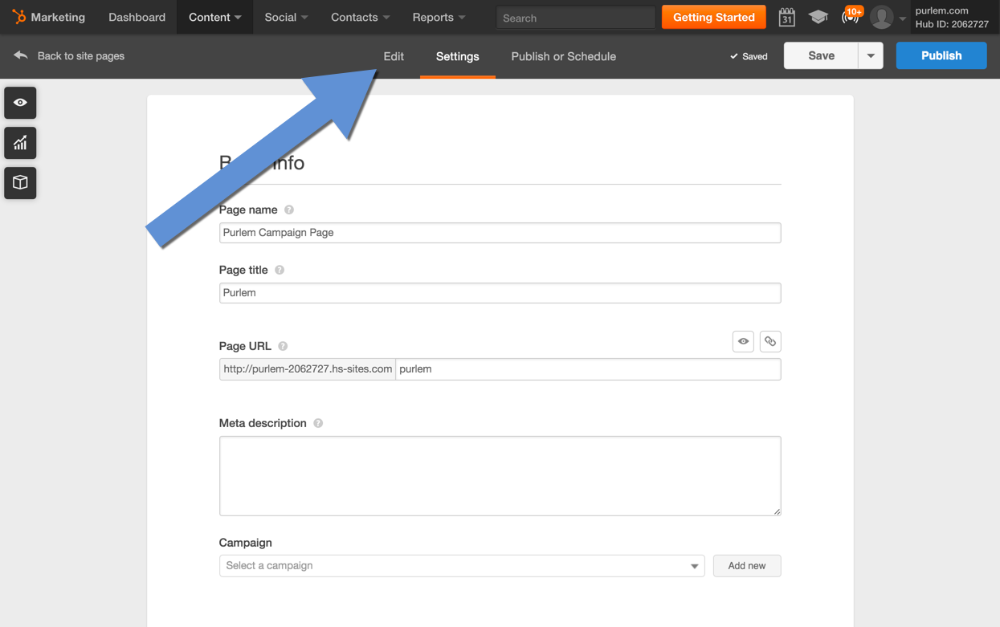
Click anywhere on the header to edit and add a variable piece. In my case, I've added a variable for the first name value: #firstName. Purlem has a variety of variable content pieces as well as the option to create custom fields for variables of your own.
6. Publish your page
As soon as we have some variable content added we'll want to Publish our page so we can add our Purlem campaign and make sure everything is working together properly. Click the
Publish button in the top right corner then select the Publish page now button within the popup.

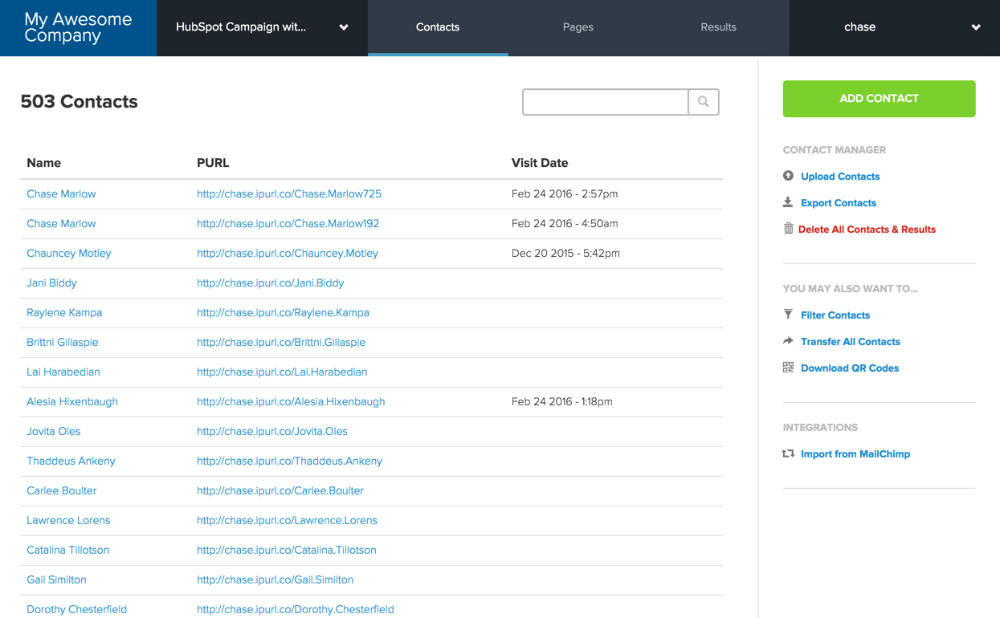
7. Create more PURLs!
The moment your campaign is created, Purlem will have created the first PURL for you. Now, you can manually add new contacts, or upload multiple contacts and Purlem will create personalized URLs for each of your contacts!
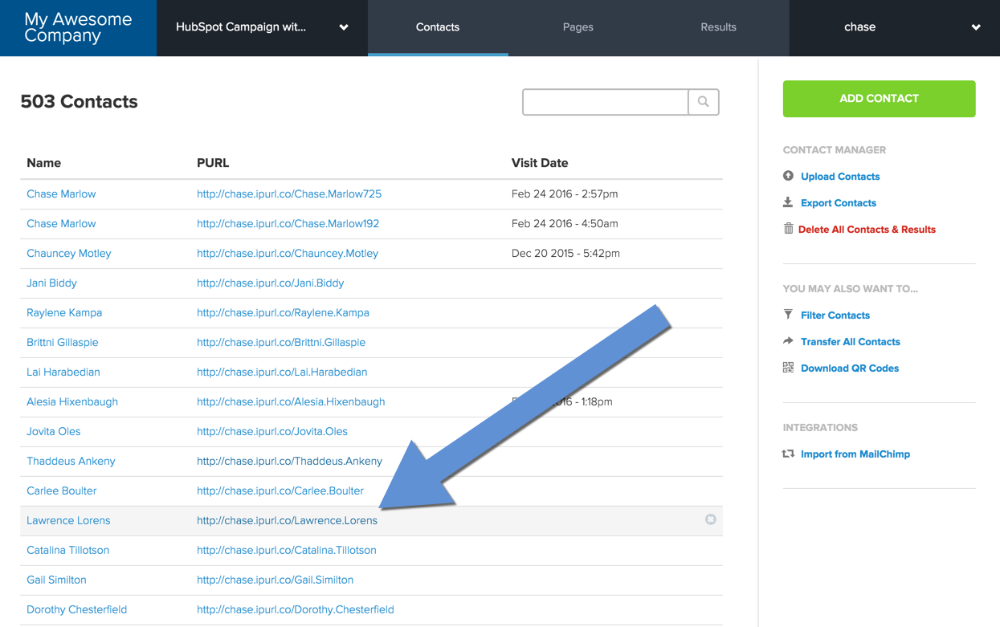
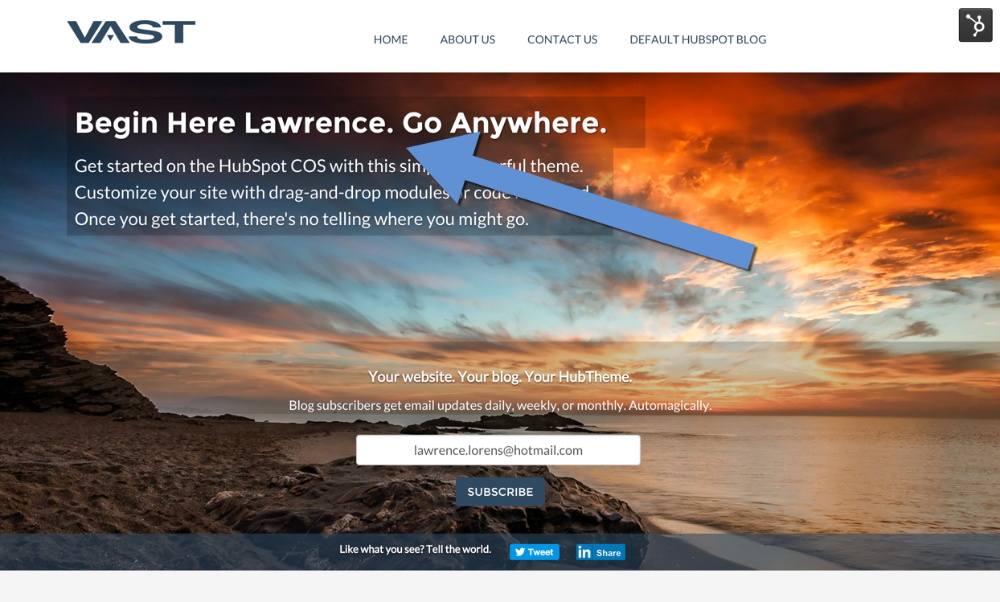
8. Check your new PURLs
Visit one of your PURLs, and watch how Purlem personalizes the HubSpot page before your eyes! Not to mention that Purlem tracks each person that visits their page, and you can set alerts to be instantly notified on each visit.
9. OPTIONAL: Use Your Domain
If you choose to, you can transfer this to your own domain. Learn more about transferring a campaign to your domain.